Elphel 353 series quick start guide
From ElphelWiki
Revision as of 08:40, 19 April 2012 by Oleg (talk | contribs)
Contents
- 1 Notes
- 2 Lens Mount
- 3 Connection
- 4 Network
- 5 Camera Index Page Menu
- 6 Help Tips
- 7 Getting the first images
- 8 Camera GUI(camvc) Controls
- 9 Watch/record video stream over the network
- 10 FTP access
- 11 Command line access
- 12 Serial port (10369 board required)
- 13 PHP samples
- 14 Accessing camera parameters
- 15 Keeping settings after power off
- 16 More Tutorials
Notes
- The following guide was written for (K)Ubuntu OS
- The camera has a web-based interface and it should work in any OS (Firefox browser is recommended)
Lens Mount
Lens Adapter Ring
Check if you need the C/CS adapter ring to connect your own lenses.
Connection
When the camera is properly connected to a PC the leds on the back will go solid yellow and blinking green.
1. Standard PoE Injector

2. 12V Power Module (ONLY FOR 12V CAMERAS)


Network
The default camera IP address is 192.168.0.9* ("ping -b 192.168.0.255" if it accidentally has some other address)
- Ensure that your PC or router/switch, the camera is connected to, has an IP address from the same subnetwork – that is 192.168.0.xxx.
SSH/FTP connection
Default user is:
Login:     root
Password:  pass
Camera Index Page Menu
* It is recommended to use the Firefox browser.
- Main Applications menu items:
- Camera Control Interface
- Disk Recorder (only use this if you have an actual disk: HDD, SSD, compactflash card connected to your camera)
- Parameter Editor
- Terminal
- System Preferences
- File Browser / Text Editor
Help Tips
Open the Camera Control Interface (camvc).
Getting the first images
camvc
In the Camera Control Interface (camvc): "Shift+Click" on the button to save.
browser
http://192.168.0.9:8081/bimg
shell script
wget http://192.168.0.9:8081/bimg -O filename.jpeg
PHP
In PHP it will be just a system() or exec() call:
system("wget http://192.168.0.9:8081/bimg -O filename.jpeg");
Camera GUI(camvc) Controls
Watch/record video stream over the network
There are several ways to watch/record video streams from the camera:
1. watch: camvc
First click on an icon with a "screen" (the 3rd one from the left) and then change the display mode to "a guy on a bicycle".

2. watch: player GUI / command line
To watch the video stream with MPlayer or VLC open the rtsp://192.168.0.9:554. You can use either a player GUI or a command line. Here is an example command from Linux terminal window:
Mplayer
mplayer rtsp://192.168.0.9:554 -vo x11 -zoom
VLC
vlc rtsp://192.168.0.9:554 -V x11 --rtsp-caching=50
The default setting for rtsp-caching is 5000 milliseconds which means the stream is delayed 5 seconds which is not very handy for real-time video preview so the above commands starts VLC with it set to 50 ms
3. record: command line
mencoder rtsp://192.168.0.9:554 -ovc copy -fps <fps> -o <file_name>.mov

where
<fps>        - approximate value of the frame frequency (this parameter is mandatory);
<file_name>.mov - the name of an output file
or
vlc rtsp://192.168.0.9:554 -V x11 --sout file/ogg:<file_name>.mov
FTP access
Command line access
a) SSH
In the terminal window: ssh root@192.168.0.9
b) Telnet
In the terminal window: telnet 192.168.0.9
c) Phpshell
Firefox address line: http://192.168.0.9/phpshell.php
Reboot
In a terminal/phpshell type reboot -f.
Serial port (10369 board required)
Speed: 115200 8N1
RTS/CTS: None
XON/XOFF : None
PHP samples
On the camera
PHP API Reference Documentation
On the PC
Accessing camera parameters
Camera GUI
http://192.168.0.9 -> "Parameter Editor"
Navigate through the 1st table links. They cover most if not all of the camera parameters.
On-camera script "parsedit.php" - through a browser or AJAX GET call
The response is in XML form:
Read:
http://192.168.0.9/parsedit.php?immediate&PAR1&PAR2
Change:
http://192.168.0.9/parsedit.php?immediate&PAR1=VAL1&PAR2=VAL2
Note 1: It's just if the parameter value is specified it will be applied. The call can have mixed specified and unspecified parameters.
Note 2: The new value is read on the next call.
Keeping settings after power off
http://192.168.0.9 -> "Parameter Editor"
Scroll to the 2nd table.
- "Save" button
- Optionally write some comment and press "Update" to the right of it. Next time the camera will boot with these settings.
- To set the parameter group used at boot time, select it and press "Update Default" button.
More Tutorials
See Tutorials
Retrieved from "importwiki?title=Elphel_353_series_quick_start_guide&oldid=11412
|
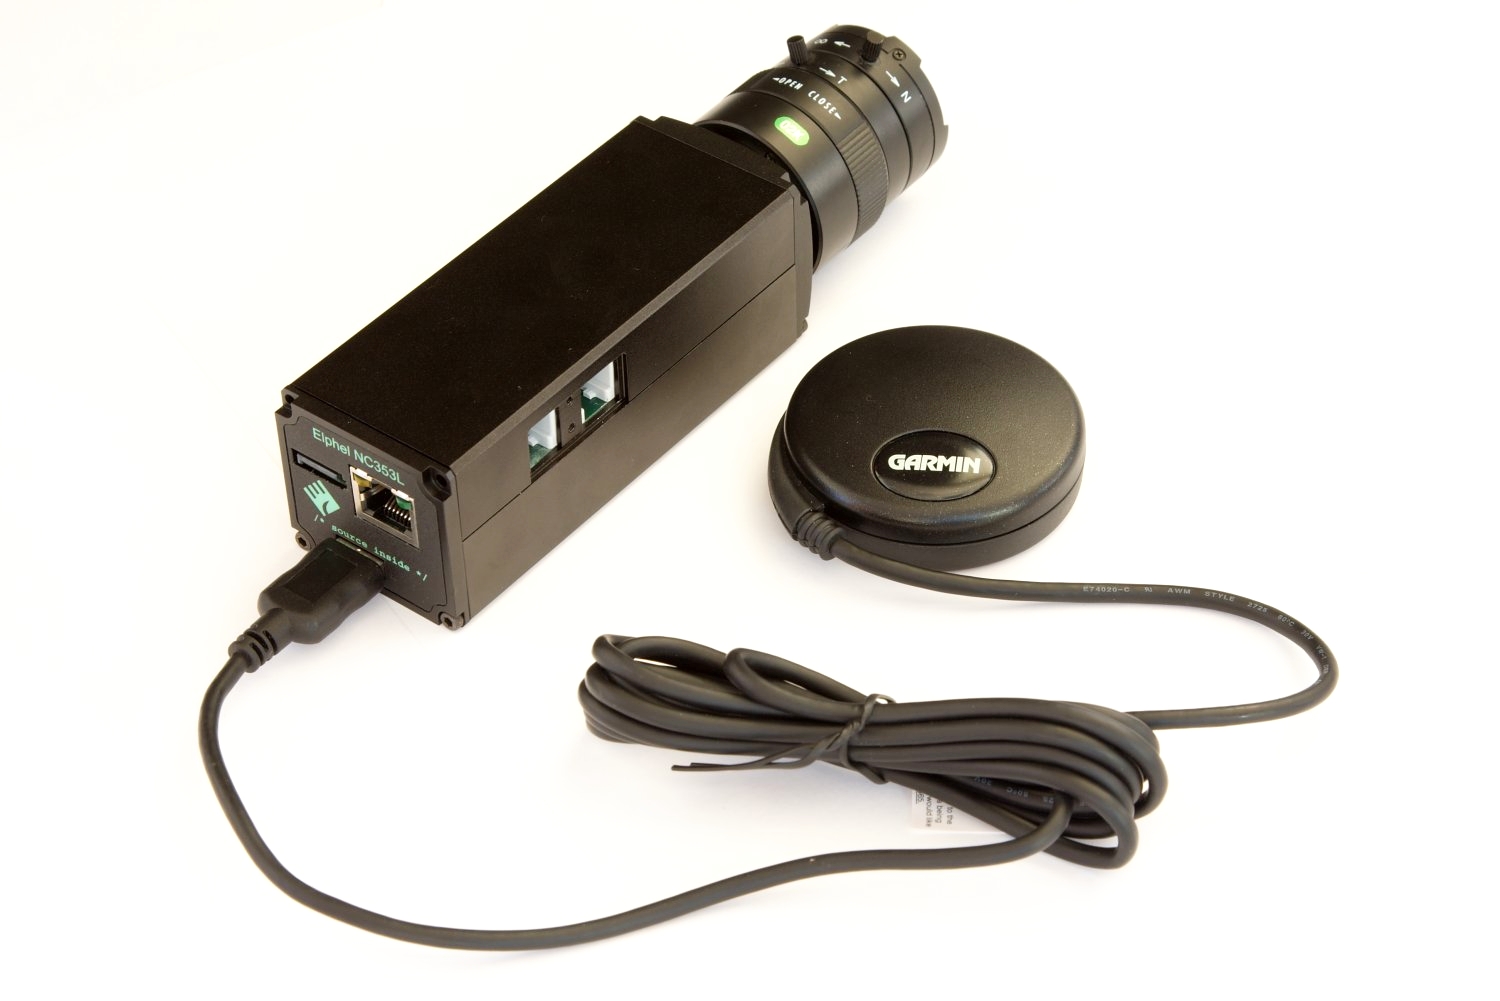
NC353L-369-GEO is a model 353 series camera for making geotagged video and images. Features:
|
|
Elphel 353 Camera Brochure Elphel 353 Camera Brochure KIT-NC353L-369-GEO Price list |
